
Understanding the Importance of Correct Wheel Mounting
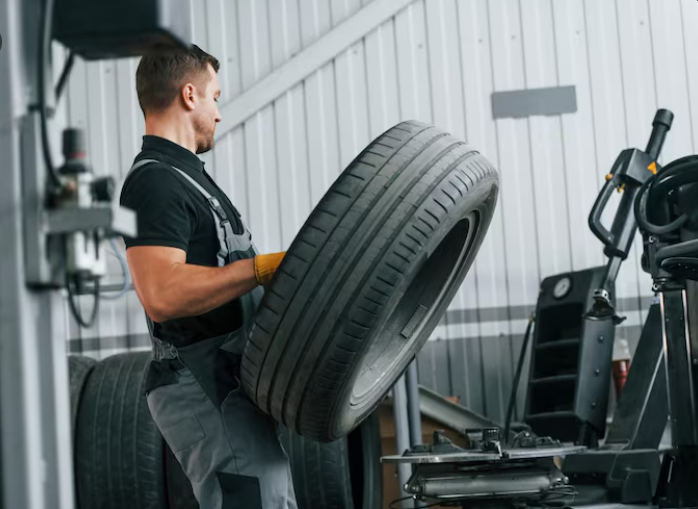
Proper wheel installation isn’t only about tightening lug nuts – it’s about ensuring every part of the wheel assembly functions in perfect harmony. When mounted correctly, the wheel maintains balanced pressure across all contact points, allowing for smoother handling, reduced vibration, and extended tire life. But even a small mistake during installation can create a chain reaction of issues that compromise your vehicle’s performance and safety. One of the most common problems stems from uneven or improper torque application. When lug nuts are over-tightened, the wheel studs can stretch and lose their elasticity, leading to a gradual reduction in clamping force. On the other hand, under-tightening allows the wheel to move slightly under load, which can cause wear around the bolt holes and lead to a dangerous loosening effect over time. Similarly, neglecting to clean rust, paint, or debris from the hub prevents the wheel from sitting flush, creating vibration and stress on the wheel bearings. Correct mounting also ensures that your wheels maintain alignment and balance, crucial factors for vehicles that regularly face Canadian driving conditions such as temperature swings, salted winter roads, and long-distance highway travel. Each of these elements adds strain to your wheels, making precise installation not just best practice but a necessary step for safe, long-term performance.Step-by-Step Tips for Safe and Accurate Wheel Installation
Mounting a wheel correctly takes more than just tightening bolts – it’s a process that combines precision, cleanliness, and consistency. Follow these steps to make sure your wheels stay secure, balanced, and reliable on every drive.- Prepare the Vehicle and Tools. Always park on a flat, stable surface and engage the parking brake. Gather essential tools: a torque wrench, lug wrench, jack, and jack stands. Loosen the lug nuts slightly before lifting the vehicle – never after.
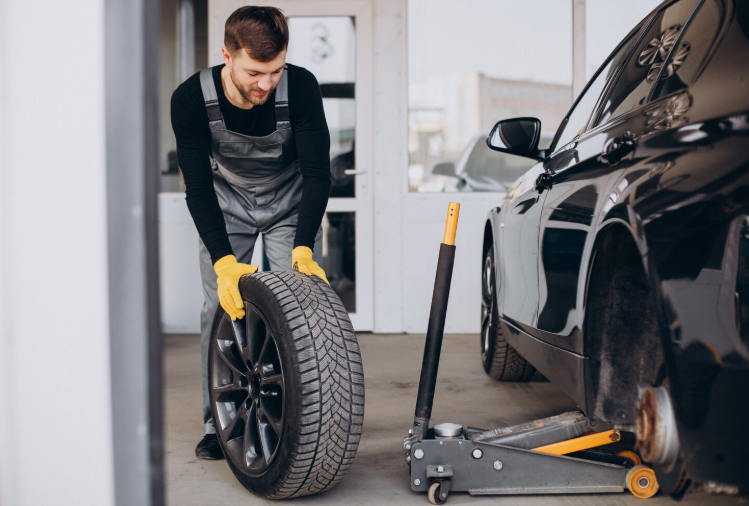
- Lift and Secure the Vehicle Properly Use a hydraulic jack to lift the car and always support it with jack stands. Never rely solely on the jack, as it can shift or fail.
- Clean the Hub and Wheel Surfaces. Before installing the new wheel, use a wire brush or emery cloth to remove any rust, dirt, or paint from the hub face. This ensures a perfect fit and prevents vibration.
- Mount the Wheel and Hand-Tighten the Lug Nuts. Align the wheel on the hub and hand-thread the lug nuts in a star or crisscross pattern. This keeps the wheel centered and reduces stress on the studs.
- Torque to Manufacturer Specifications. Lower the vehicle just enough for the tire to touch the ground. Using a calibrated torque wrench, tighten the lug nuts in the same star pattern to the specified torque.
- Recheck and Retorque After Driving. After driving 50–100 km, recheck the torque on all lug nuts. Wheels often settle after initial use, and rechecking helps maintain safe pressure.
The R.I.S.T. Method: Professional Standard for Wheel Installation
In the automotive industry, the R.I.S.T. method has become the gold standard for ensuring safe and accurate wheel installation. It outlines a precise, repeatable process that minimizes human error and guarantees consistent results across every vehicle type. Each step focuses on one critical part of the installation sequence from preparation to final torqueing, ensuring the wheel remains securely fastened under all driving conditions. R – Remove Debris Before mounting a wheel, it’s essential to clear away all rust, paint, dirt, and debris from the hub and mounting surfaces. Even minor buildup can prevent the wheel from sitting flush, causing uneven pressure and vibration once the vehicle is in motion. I – Inspect Surfaces After cleaning, inspect all contact areas for signs of damage, corrosion, or wear. Check the bolt holes, hub, and studs carefully for any cracks, elongation, or deformed threads indicate parts that must be replaced before installation. S – Snug Lug Nuts by Hand When placing the wheel on the hub, always begin threading the lug nuts by hand. This ensures that the wheel is correctly centered and prevents cross-threading or stripping the studs. Proper alignment at this stage is critical for stability and smooth rotation. T – Torque to Specification The final step is to apply torque evenly and accurately using a calibrated torque wrench. Tighten the lug nuts in a crisscross or star pattern to maintain equal pressure across the wheel. Following the manufacturer’s torque values ensures that the clamping force is strong enough to secure the wheel without overstressing the studs or damaging the wheel assembly. The R.I.S.T. method combines cleanliness, accuracy, and precision, the same principles followed by professionals at Canada Custom Autoworks during every wheel installation.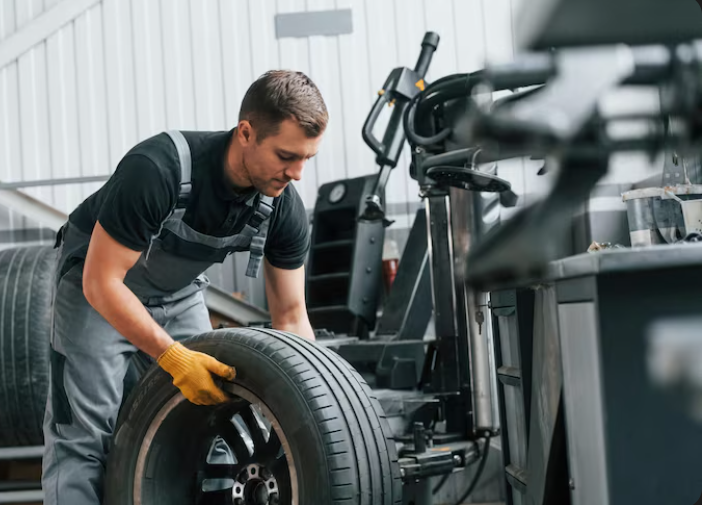
Wheel Inspection for Long-Term Safety
Even after professional installation, regular wheel inspections are essential for maintaining performance and preventing issues that develop over time. Continuous exposure to Canada’s changing climate, from freezing winters to summer heat, can affect wheel components, torque levels, and surface integrity. A simple inspection routine helps identify early signs of wear before they become safety hazards. Every inspection should focus on four critical areas: lug nuts, wheel surface, bearings, and hub condition. Loose or corroded lug nuts can gradually weaken clamping force, while small cracks or bends in the wheel can indicate fatigue from potholes or curbs. Bearings that produce noise or drag may suggest insufficient lubrication or internal damage, and corrosion around the hub area can prevent proper wheel seating.| Inspection Point | What to Look For | Recommended Action |
| Lug Nuts | Signs of rust, looseness, or uneven wear | Re-torque or replace as needed |
| Wheel Surface | Cracks, chips, or discoloration | Replace damaged wheels immediately |
| Bearings | Unusual noise, vibration, or rough rotation | Schedule a professional inspection |
| Hub Area | Rust buildup, paint residue, or dirt | Clean surfaces thoroughly before reinstalling |
Common Wheel Installation Mistakes to Avoid
Even experienced drivers and technicians can overlook small details that lead to major problems later. Understanding the most common installation errors helps prevent premature wear, vibration, and potential wheel failures.- Over-Tightening the Lug Nuts. It’s easy to assume that tighter means safer, but applying too much torque stretches the wheel studs and reduces their strength. Over time, this can lead to cracking, uneven clamping, or even stud failure. Always use a calibrated torque wrench and follow manufacturer specifications.
- Under-Tightening or Uneven Tightening. Failing to apply enough torque or tightening bolts in the wrong order can cause the wheel to shift slightly during driving. This movement wears out the bolt holes and leads to vibrations, uneven brake pressure, and a gradual loss of clamping force.
- Skipping Hub Cleaning. Rust, dirt, or paint residue on the hub prevents the wheel from sitting flush. Even a thin layer of buildup can cause the wheel to seat unevenly, creating wobble and brake pulsation. Cleaning the hub and mounting surface is a critical step that should never be skipped.
- Using the Wrong Tools or Equipment. Impact wrenches and uncalibrated torque tools are common causes of damage during wheel installation. The sudden bursts of torque they deliver are inconsistent and can distort threads or damage alloy wheels. Manual tightening with a torque wrench offers accuracy and control.
- Forgetting to Re-Torque After Driving. After installation, wheels often settle as the lug nuts and studs adjust under load. Re-torquing after 50–100 km ensures that everything remains tight and evenly balanced. Failing to follow this step is one of the leading causes of wheel loosening over time.
Professional Wheel Installation by Canada Custom Autoworks
While many drivers attempt to install wheels at home, professional mounting and inspection provide a level of accuracy that’s difficult to achieve without specialized tools. At Canada Custom Autoworks, every wheel installation follows a standardized process designed to ensure safety, precision, and long-term performance, whether you’re driving through Calgary’s city streets, Edmonton’s highways, or Regina’s winter roads. Our certified technicians use state-of-the-art balancing and torque calibration equipment to guarantee that each wheel is mounted perfectly flush against the hub. Every installation includes:- Hub surface cleaning and inspection to remove corrosion and debris
- Precision torque application using calibrated digital torque wrenches
- Computerized balancing to eliminate vibration and uneven tire wear
- Post-installation inspection verifying alignment, torque, and seating accuracy